Ingredients
Equipment
Method
- Cut a sheet of parchment paper larger than the pan and place it over the bottom of a 9-inch springform pan. Secure the pan by locking the sides over the parchment, leaving the excess hanging out for easy lifting later.
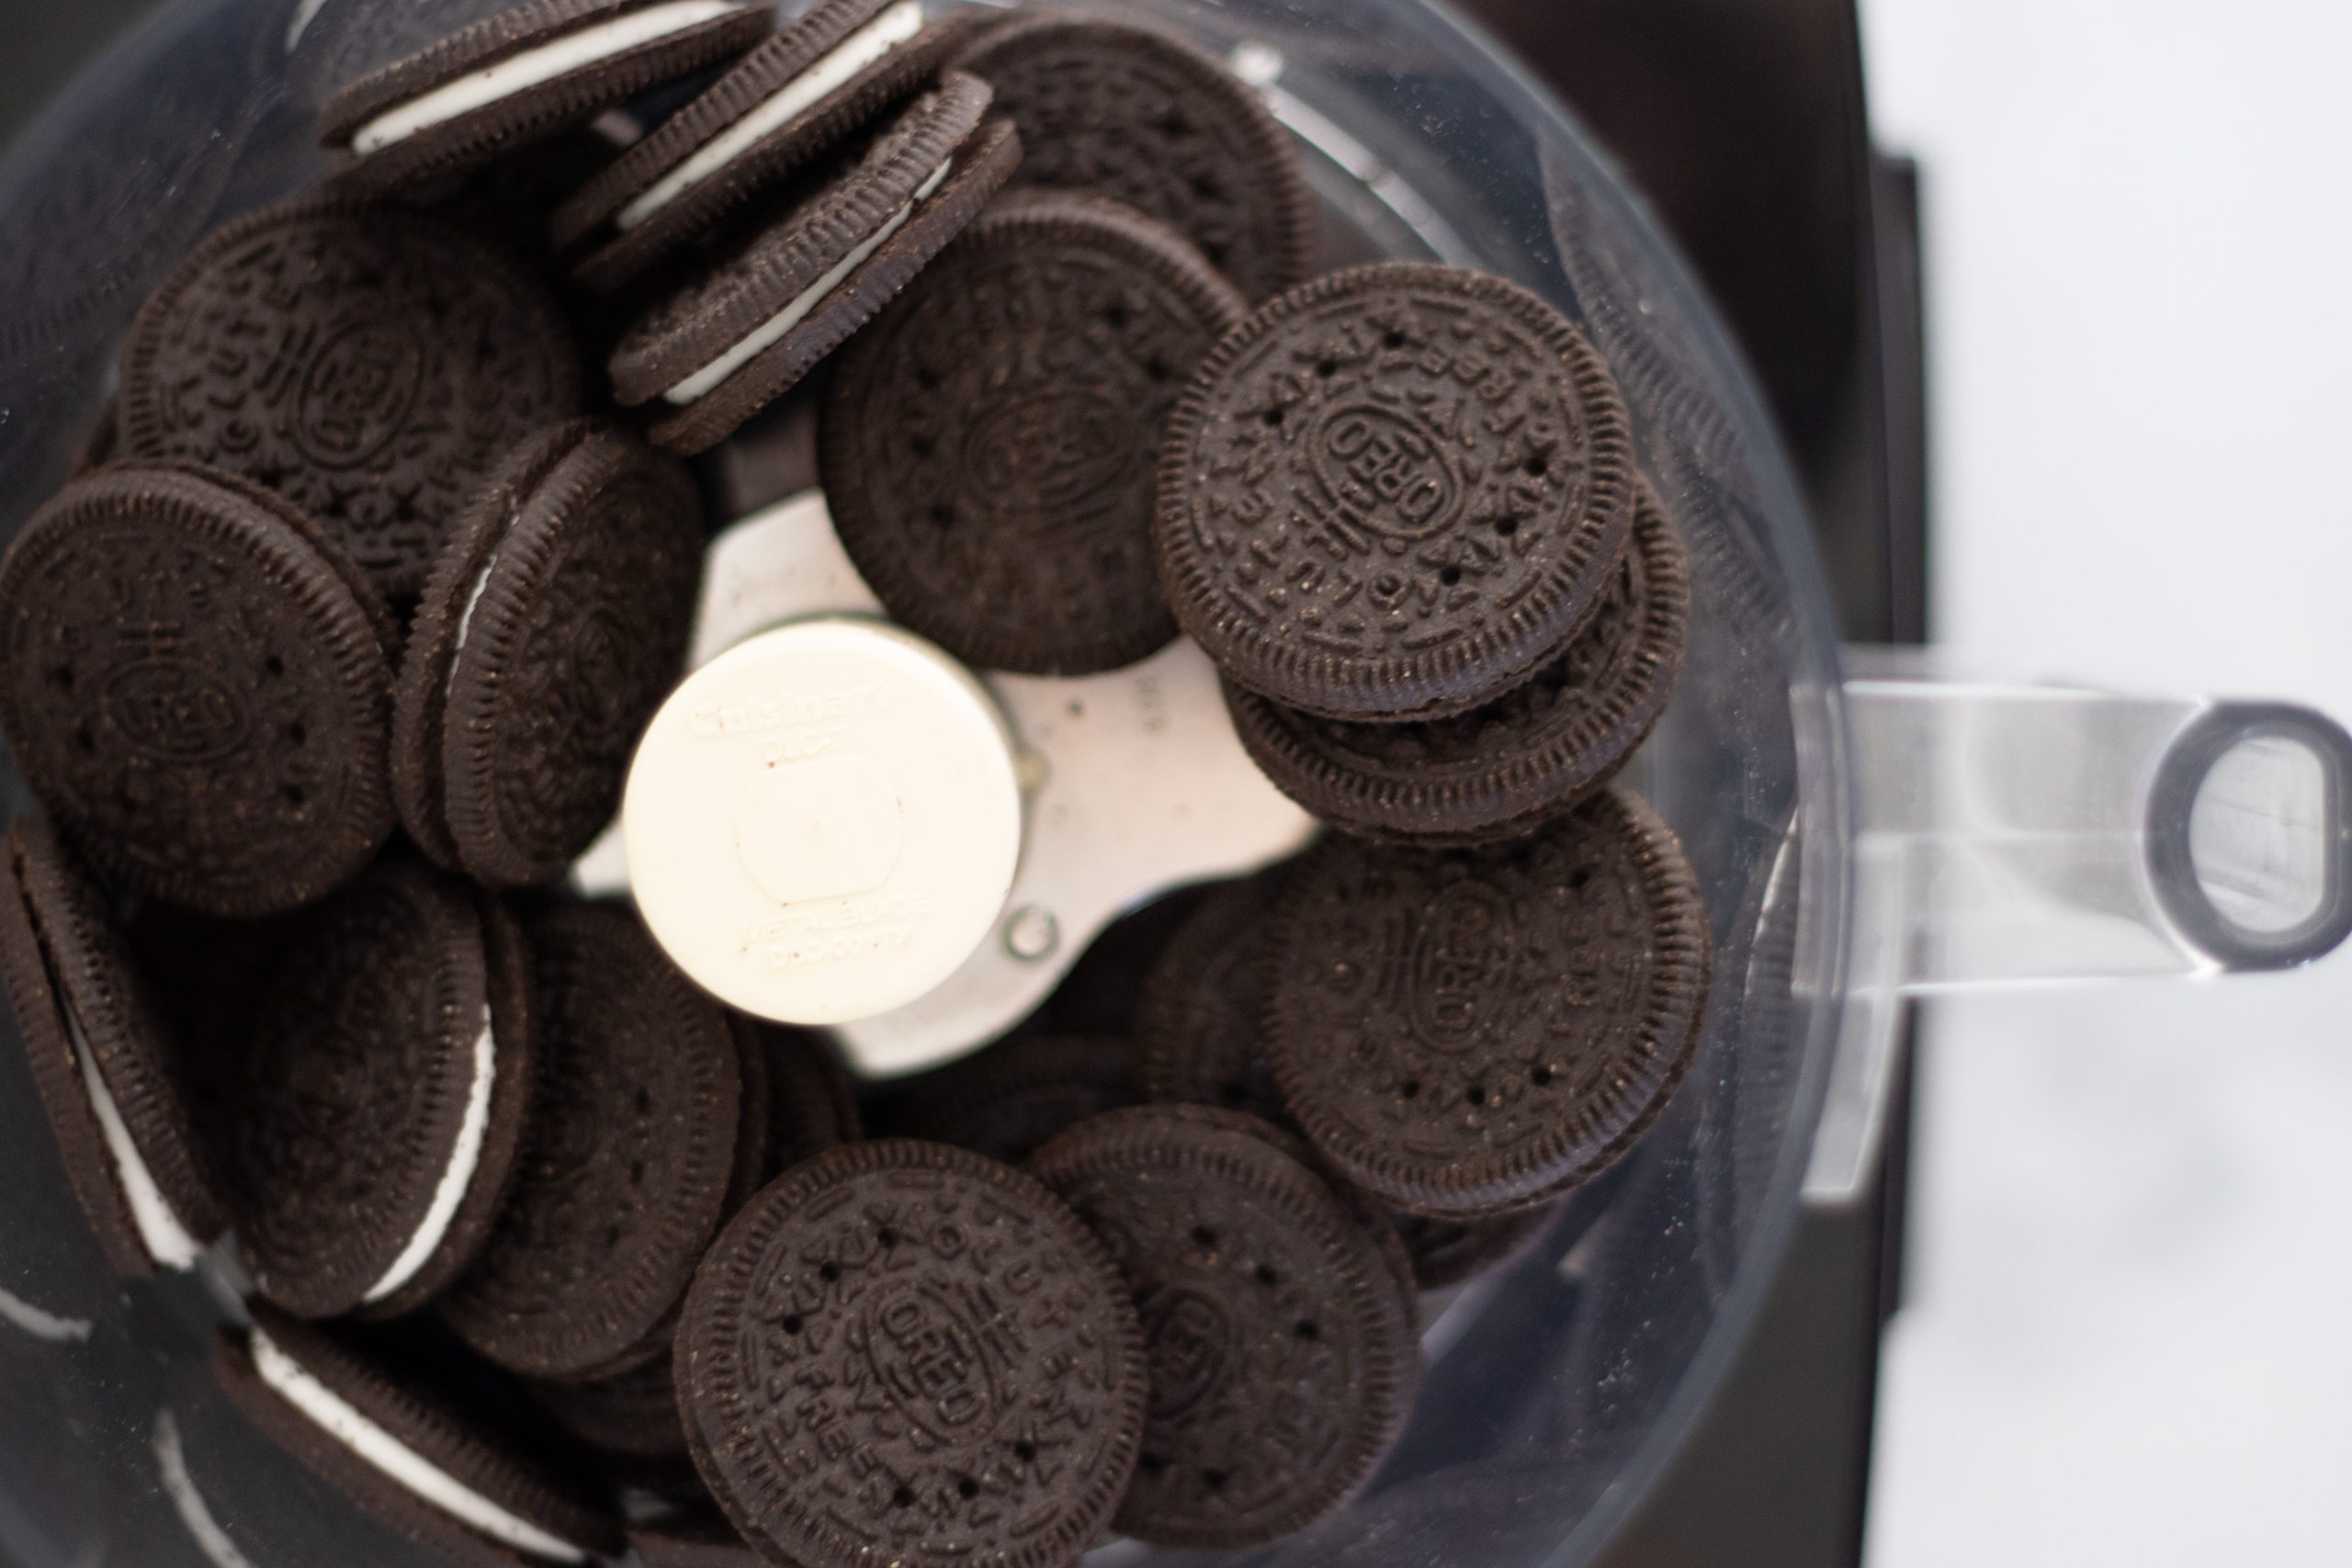
- Use a food processor to pulse the Oreos into fine crumbs. If you don’t have a food processor, place the cookies in a ziploc bag and crush them with a rolling pin until finely ground.
- If you’re using a food processor, pour the 6 tablespoons of melted butter directly into the crushed Oreos and give it a few quick pulses to blend. It’s quick, mess-free, and evenly coats the crumbs.If you crushed your cookies by hand, just transfer the crumbs to a mixing bowl, pour in the melted butter, and stir until the mixture looks like wet sand and holds together when pressed.
- Pour the mixture into a 9-inch pie pan or springform pan. Use the bottom of a measuring cup or a spoon to press the crumbs firmly and evenly across the bottom and slightly up the sides.
- Place the crust in the refrigerator for at least 30 minutes to firm up before adding your filling.
Notes
Tips:
For a firmer crust: Freeze for 15 minutes before adding the filling.
For extra flavor: Add ¼ teaspoon of salt to the crust mixture.
Gluten-Free: Use gluten-free Oreos for a gluten free crust.
For a firmer crust: Freeze for 15 minutes before adding the filling.
For extra flavor: Add ¼ teaspoon of salt to the crust mixture.
Gluten-Free: Use gluten-free Oreos for a gluten free crust.
